Firmware and Software
Firmware
Much of the firmware used in this project was the pre-written code for the Pixhawk. This includes code handling the different flight modes and the PID systems for throttle, pitch, roll and yaw. Essentially, this firmware interprets the messages sent by our software and outputs power commands for each of the four motors. While we did not write this firmware, we did research the drone control schemes and the math that determines throttle, pitch, roll, and yaw.

Software Organization
We did develop a full software stack for the drone running on the Nvidia Jetson. This relies on the following dependencies: OpenCV, YOLO, Mavpylink, numpy. At a high level, the software uses the camera input to identify a person, then determines what angle to turn to face that person. It then sends a command to the Pixhawk to turn at this angle. While this seems very simple, it requires extensive knowledge of both YOLO and Mavpylink, as well as Ardupilot as a whole. We’ve implemented two classes and a main file to run class methods. The ‘Directions’ class handles all of the computer vision and outputs the directions for the drone. The ‘Control’ class handles the drone control, taking the directions as inputs and sending messages to the drone.
Flight Control
In our main loop, Control is initialized first, with placeholder zeros for all of the direction inputs and the serial connection and baud rate parameters as static inputs. Then, control waits for a heartbeat signal from the Pixhawk to confirm the connection. These heartbeat signals carry useful information about the current status of the flight. After confirming the connection, the Control class executes the ‘wait_for_control_v2’ method, which prevents the autonomous functions from being run until the drone is in the hold altitude mode HOLD_ALT. Once HOLD_ALT is confirmed, the directions class is initialized and the camera is started. At this point, the Jetson is receiving input from the camera and the autonomous variable is set to true, allowing the rest of the code to execute. The loop for autonomous control starts with a debugging print statement. Afterwards, the ‘get_directions’ method from the Directions class is run, which analyses the camera feed, identifies a person if it hasn’t already or keeps the window on the same person as previously identified, and computes the angle needed to turn towards the target. This is done by analysing the pixels between the center of the screen and the center of the target and converting to a raw yaw angle between -30 and 30 degrees. Then, Control is updated with this new yaw angle. If the yaw angle is greater than 5 degrees, Control executes the yaw_override method. Control overrides the RC yaw input with its own, a PWM value centered on a duty cycle of 1500. The method then adds 10 times the yaw angle to this PWM value, turning right if PWM is greater than 1500 and left otherwise. This has the drone turn according to the angle from the computer vision.
Facial Recognition
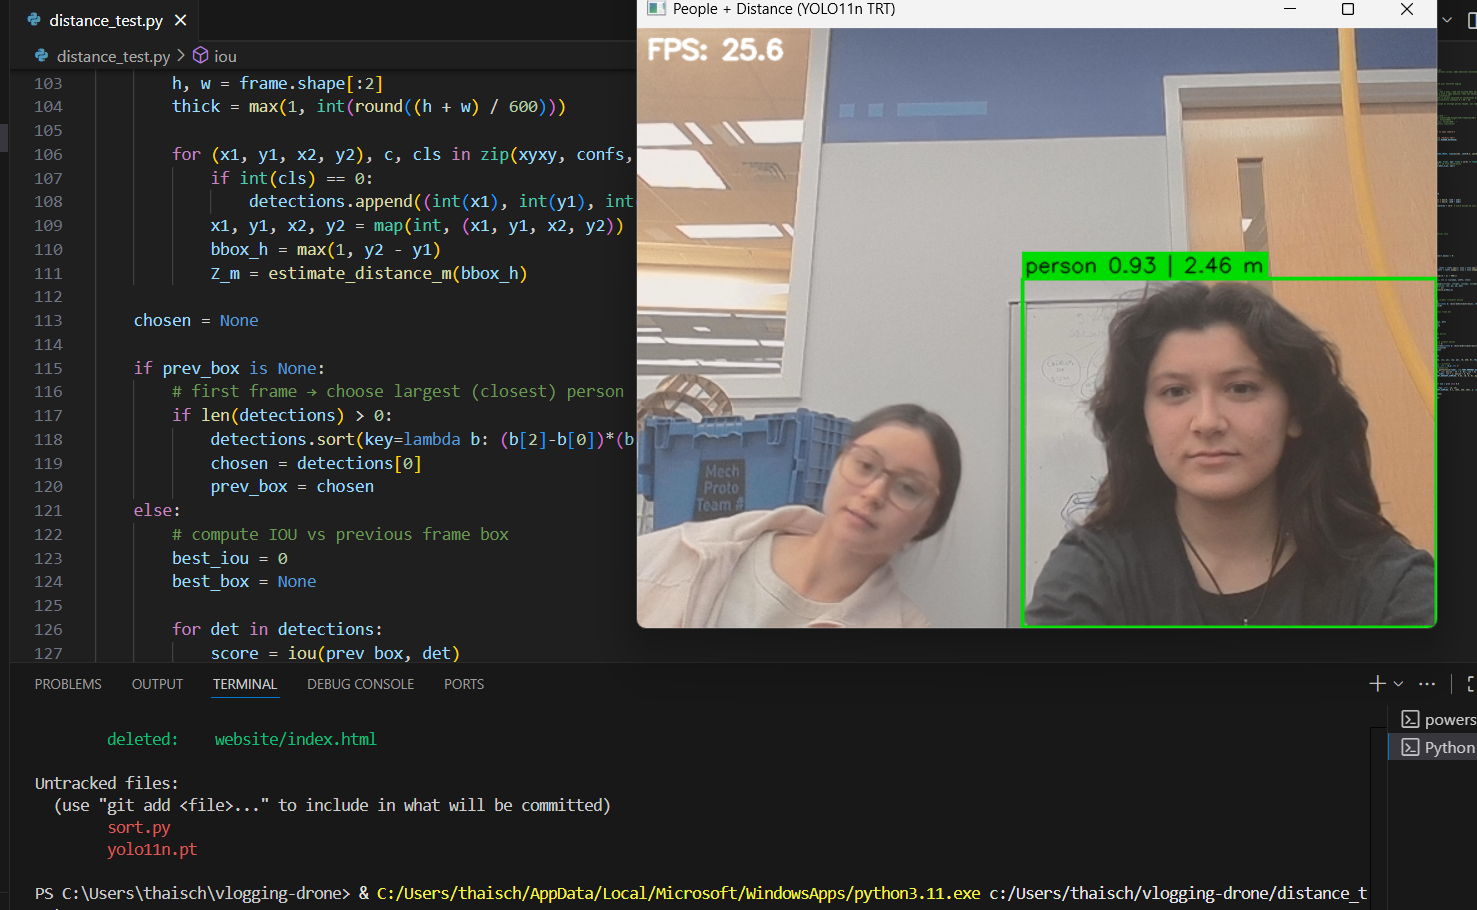
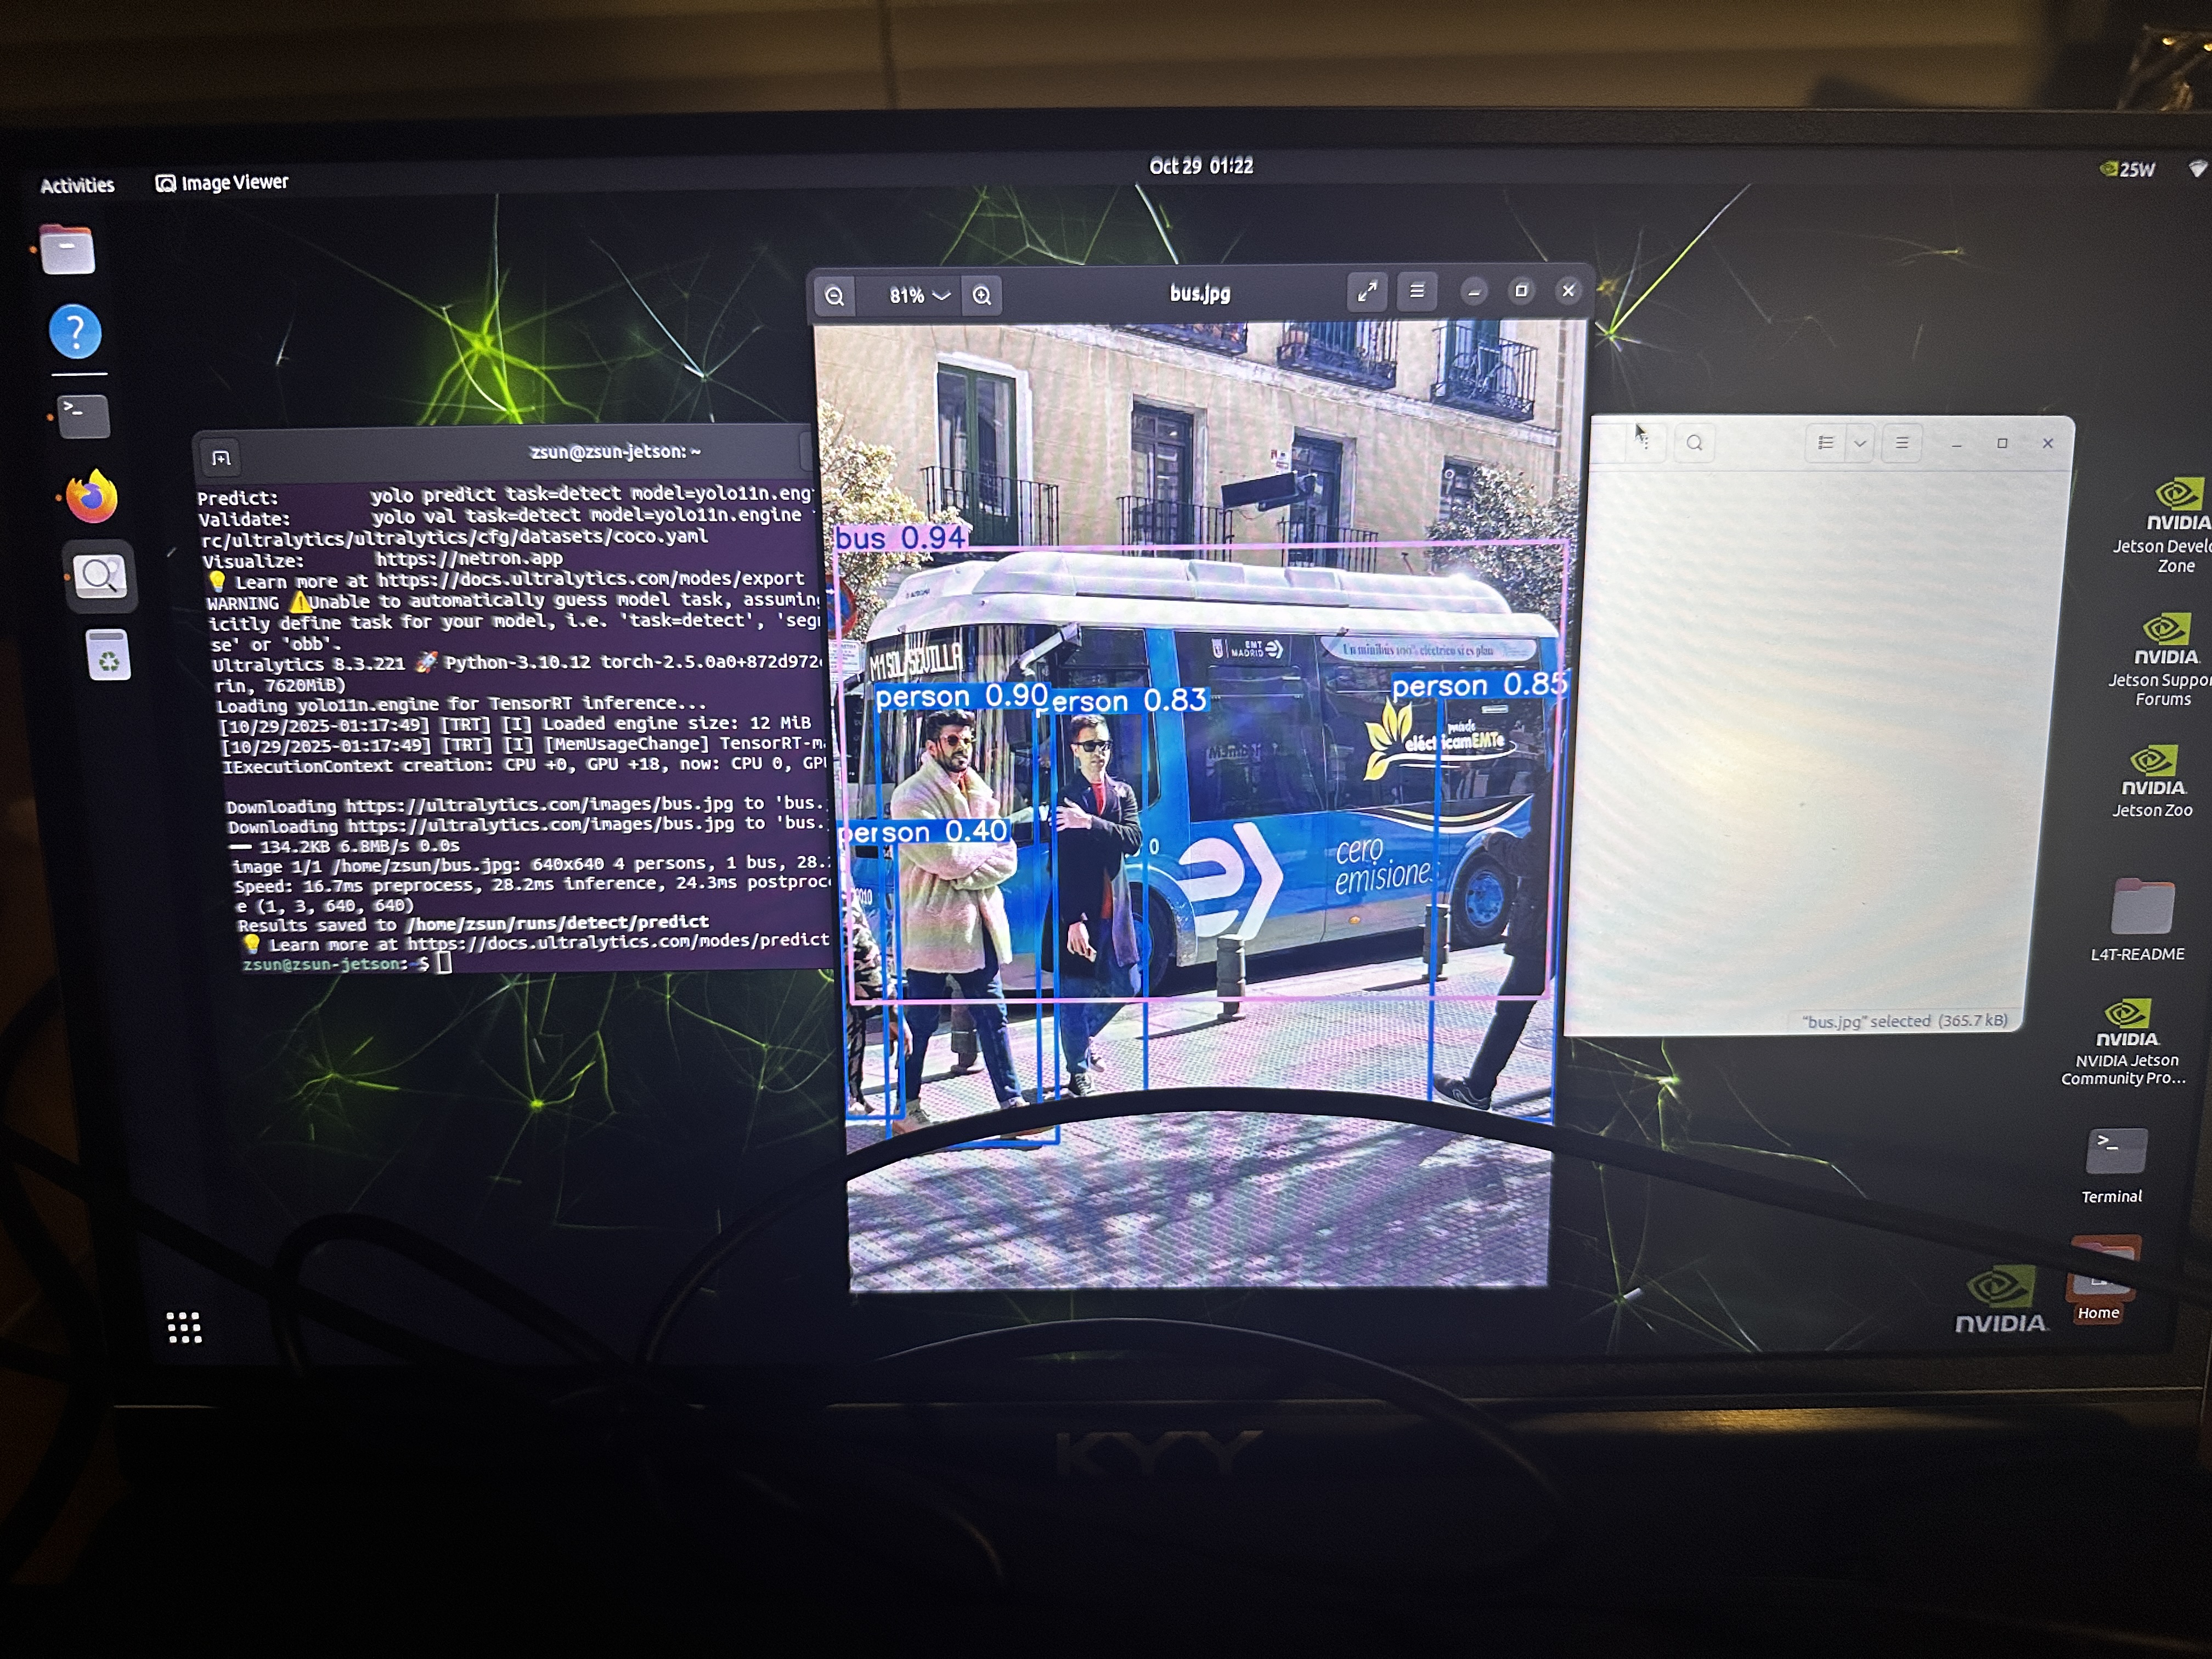
We used YOLOv11 to detect people and follow them. The architecture for it is pretty simple. We used a prebuilt dataset and filtered to train for only the faces (since the dataset itself contains photos for many objects, including chairs, computers, etc.). Once the model was trained and could recognize people, we had it latch onto the first person it detected. This meant that it would only recognize one person in the frame at a given time, until the original person stepped out of frame or was covered. The model using a bounding box to encompass the person in frame. We used the size of the bounding box to 1) determine how far away a person was and 2) to determine how much to move the drone. We calculated the center of the bounding box and how far it deviated from the center of the frame. That difference was using to calculated how far the drone needed to turn to keep the user in the center of the frame.