Mechanical
Initial Design Process
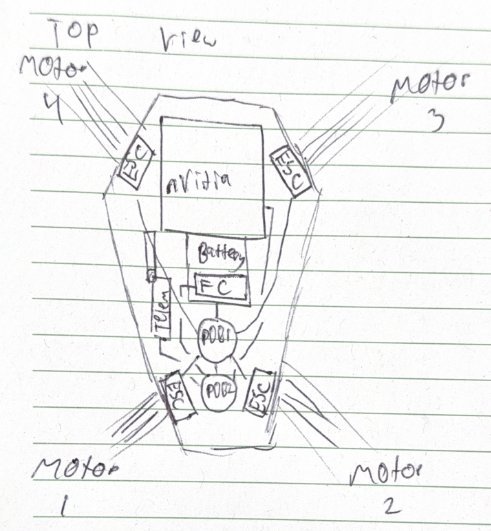
The first step in designing our drone was determining the total system weight, since this directly defines the lift requirements and the propeller diameter necessary for stable flight. To estimate a realistic target weight, we compiled a list of all major components: the drone body, structural arms, and all onboard electronics including the Nvidia Jetson, Pixhawk flight controller, battery, RC receiver, voltage distribution board, telemetry radio, motors, and ESCs. Because our motors and ESCs were obtained early into the design process, we were able to use their performance data to guide our thrust calculations.
Sketches
Before getting into detailed CAD, we made a few sketches of different drone body shapes to see what could fit our components best. After trying several ideas, we chose a “coffin” shaped body because it used the internal space the most efficiently and let us keep the center of gravity close to the middle.
Initial Body CAD
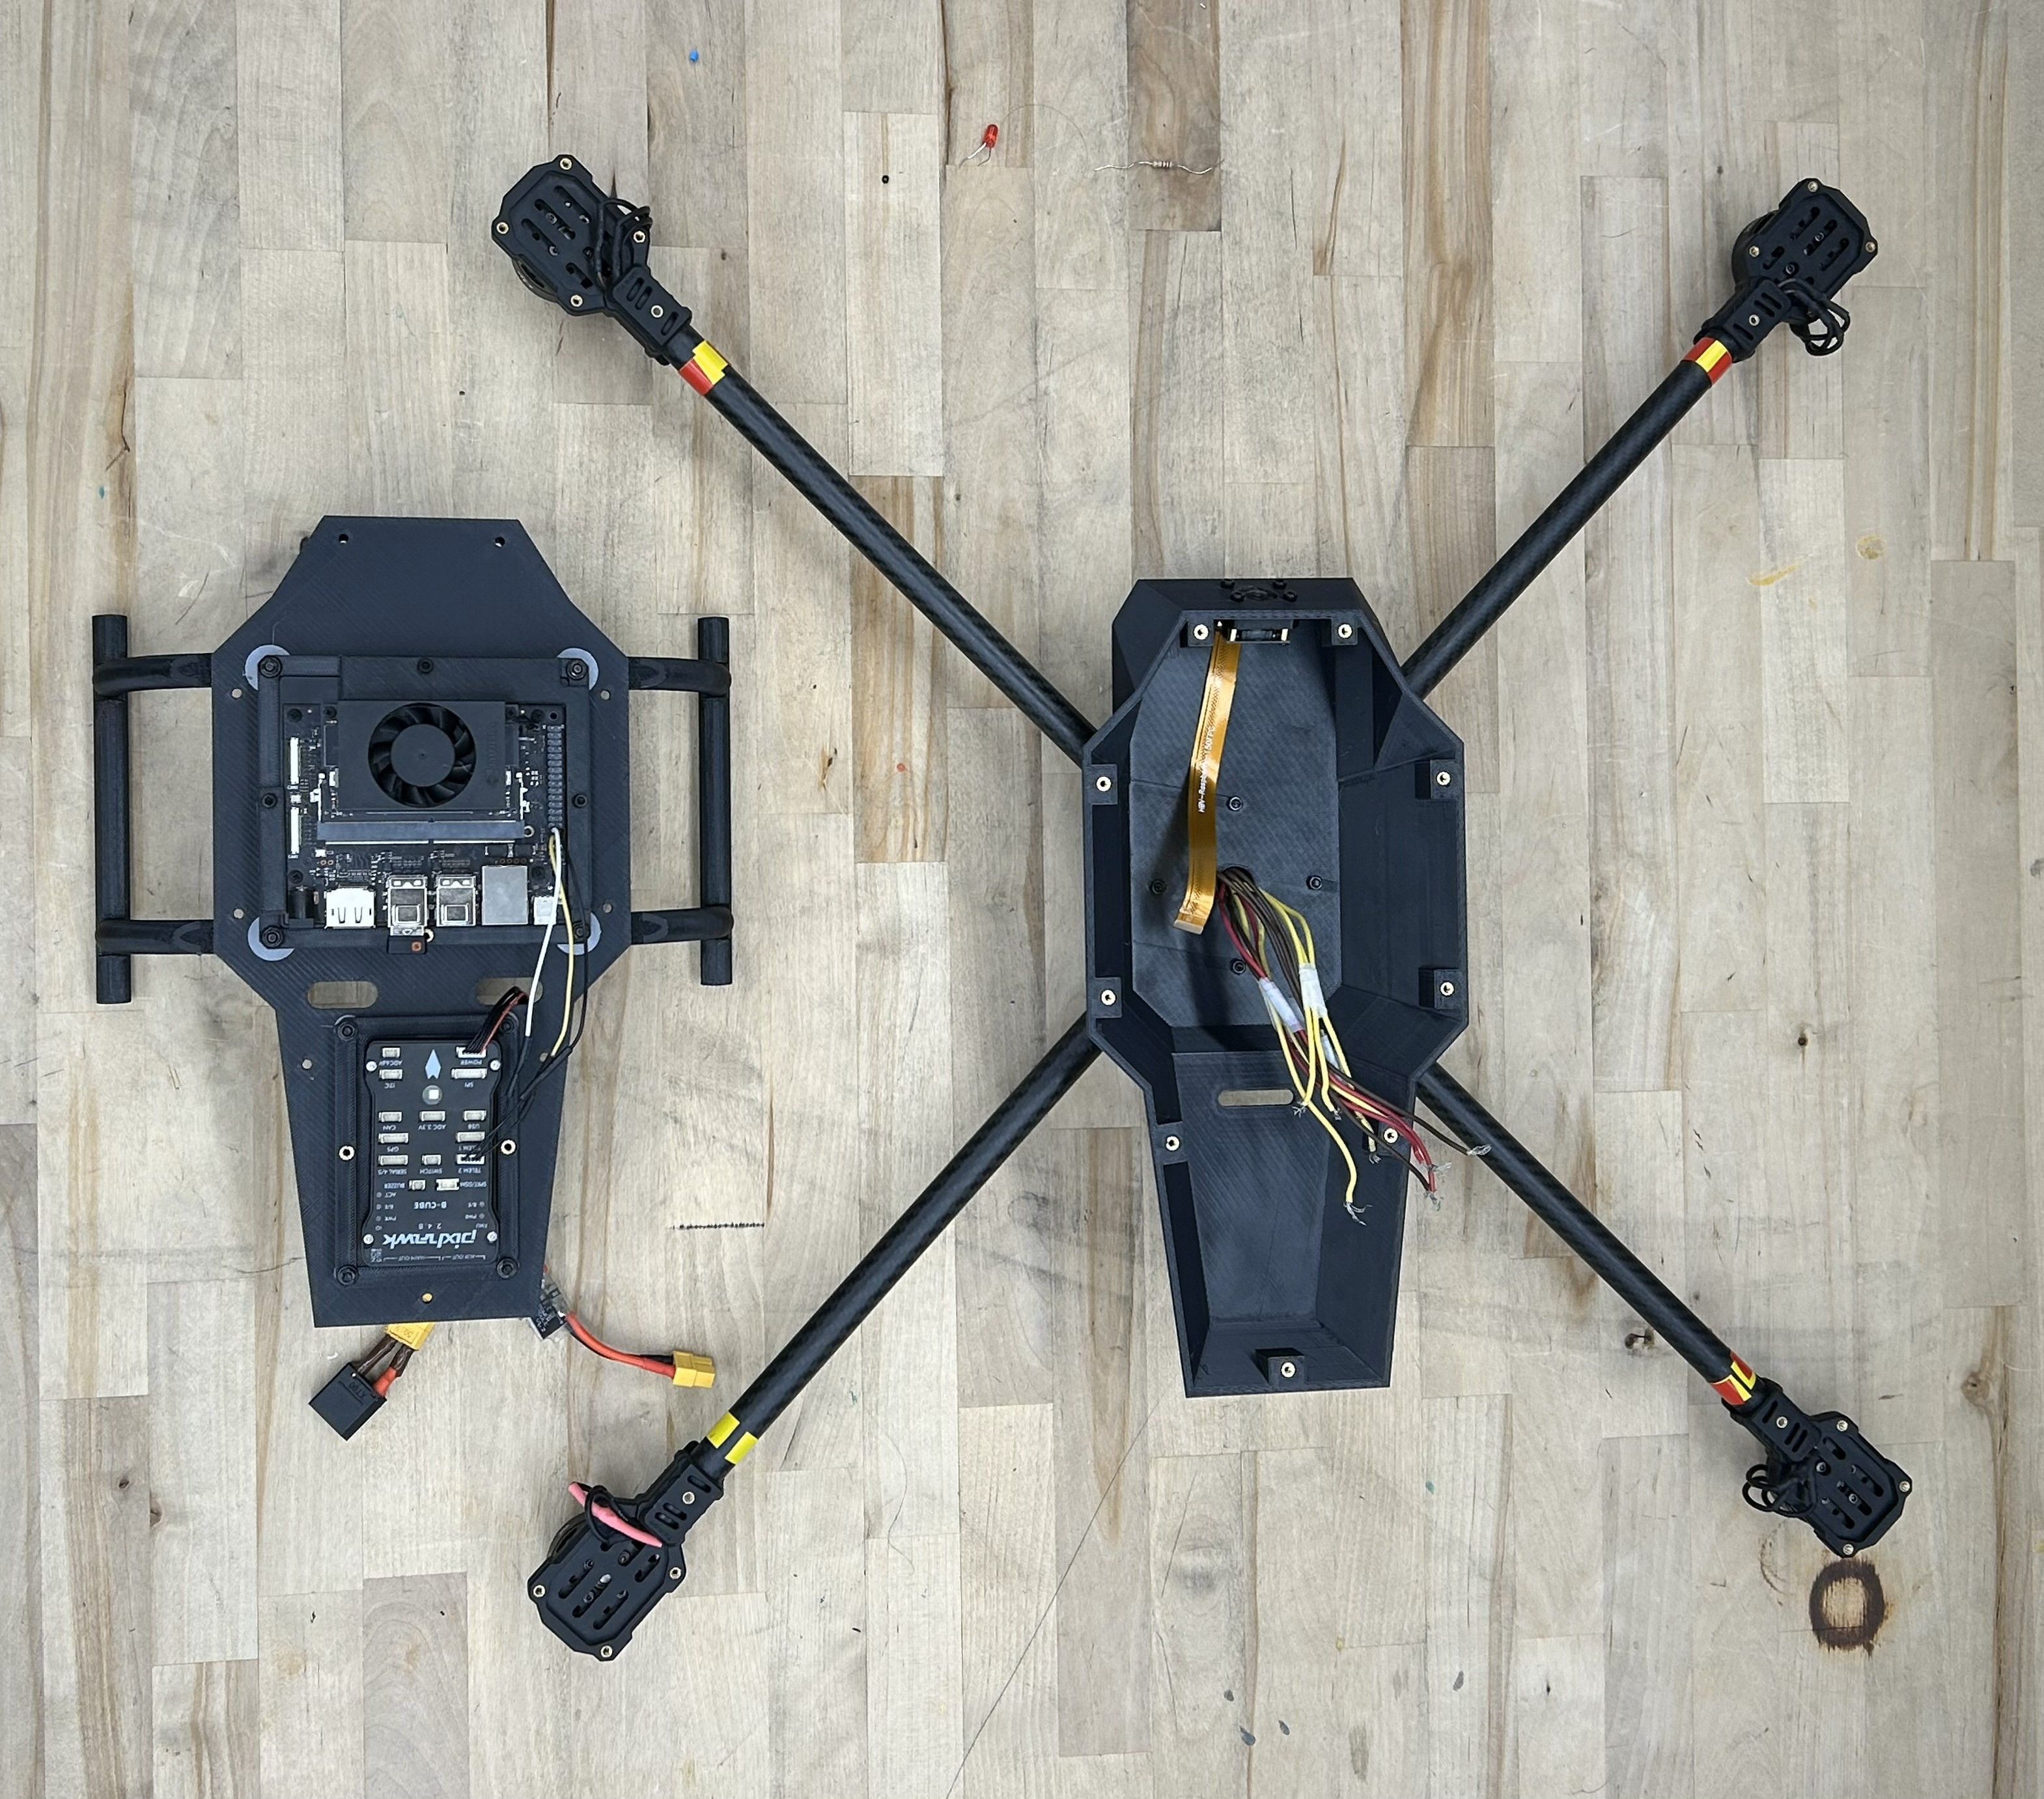
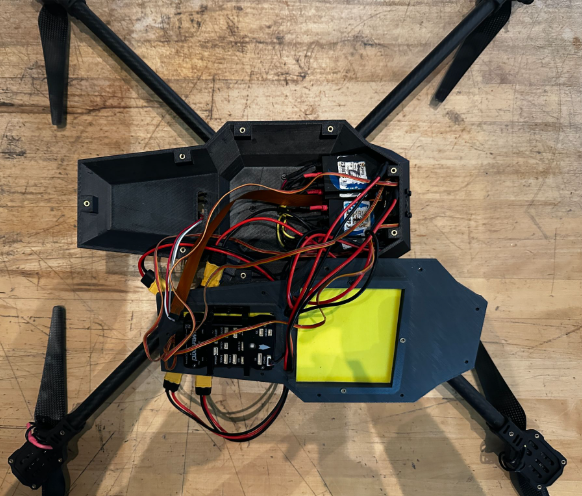
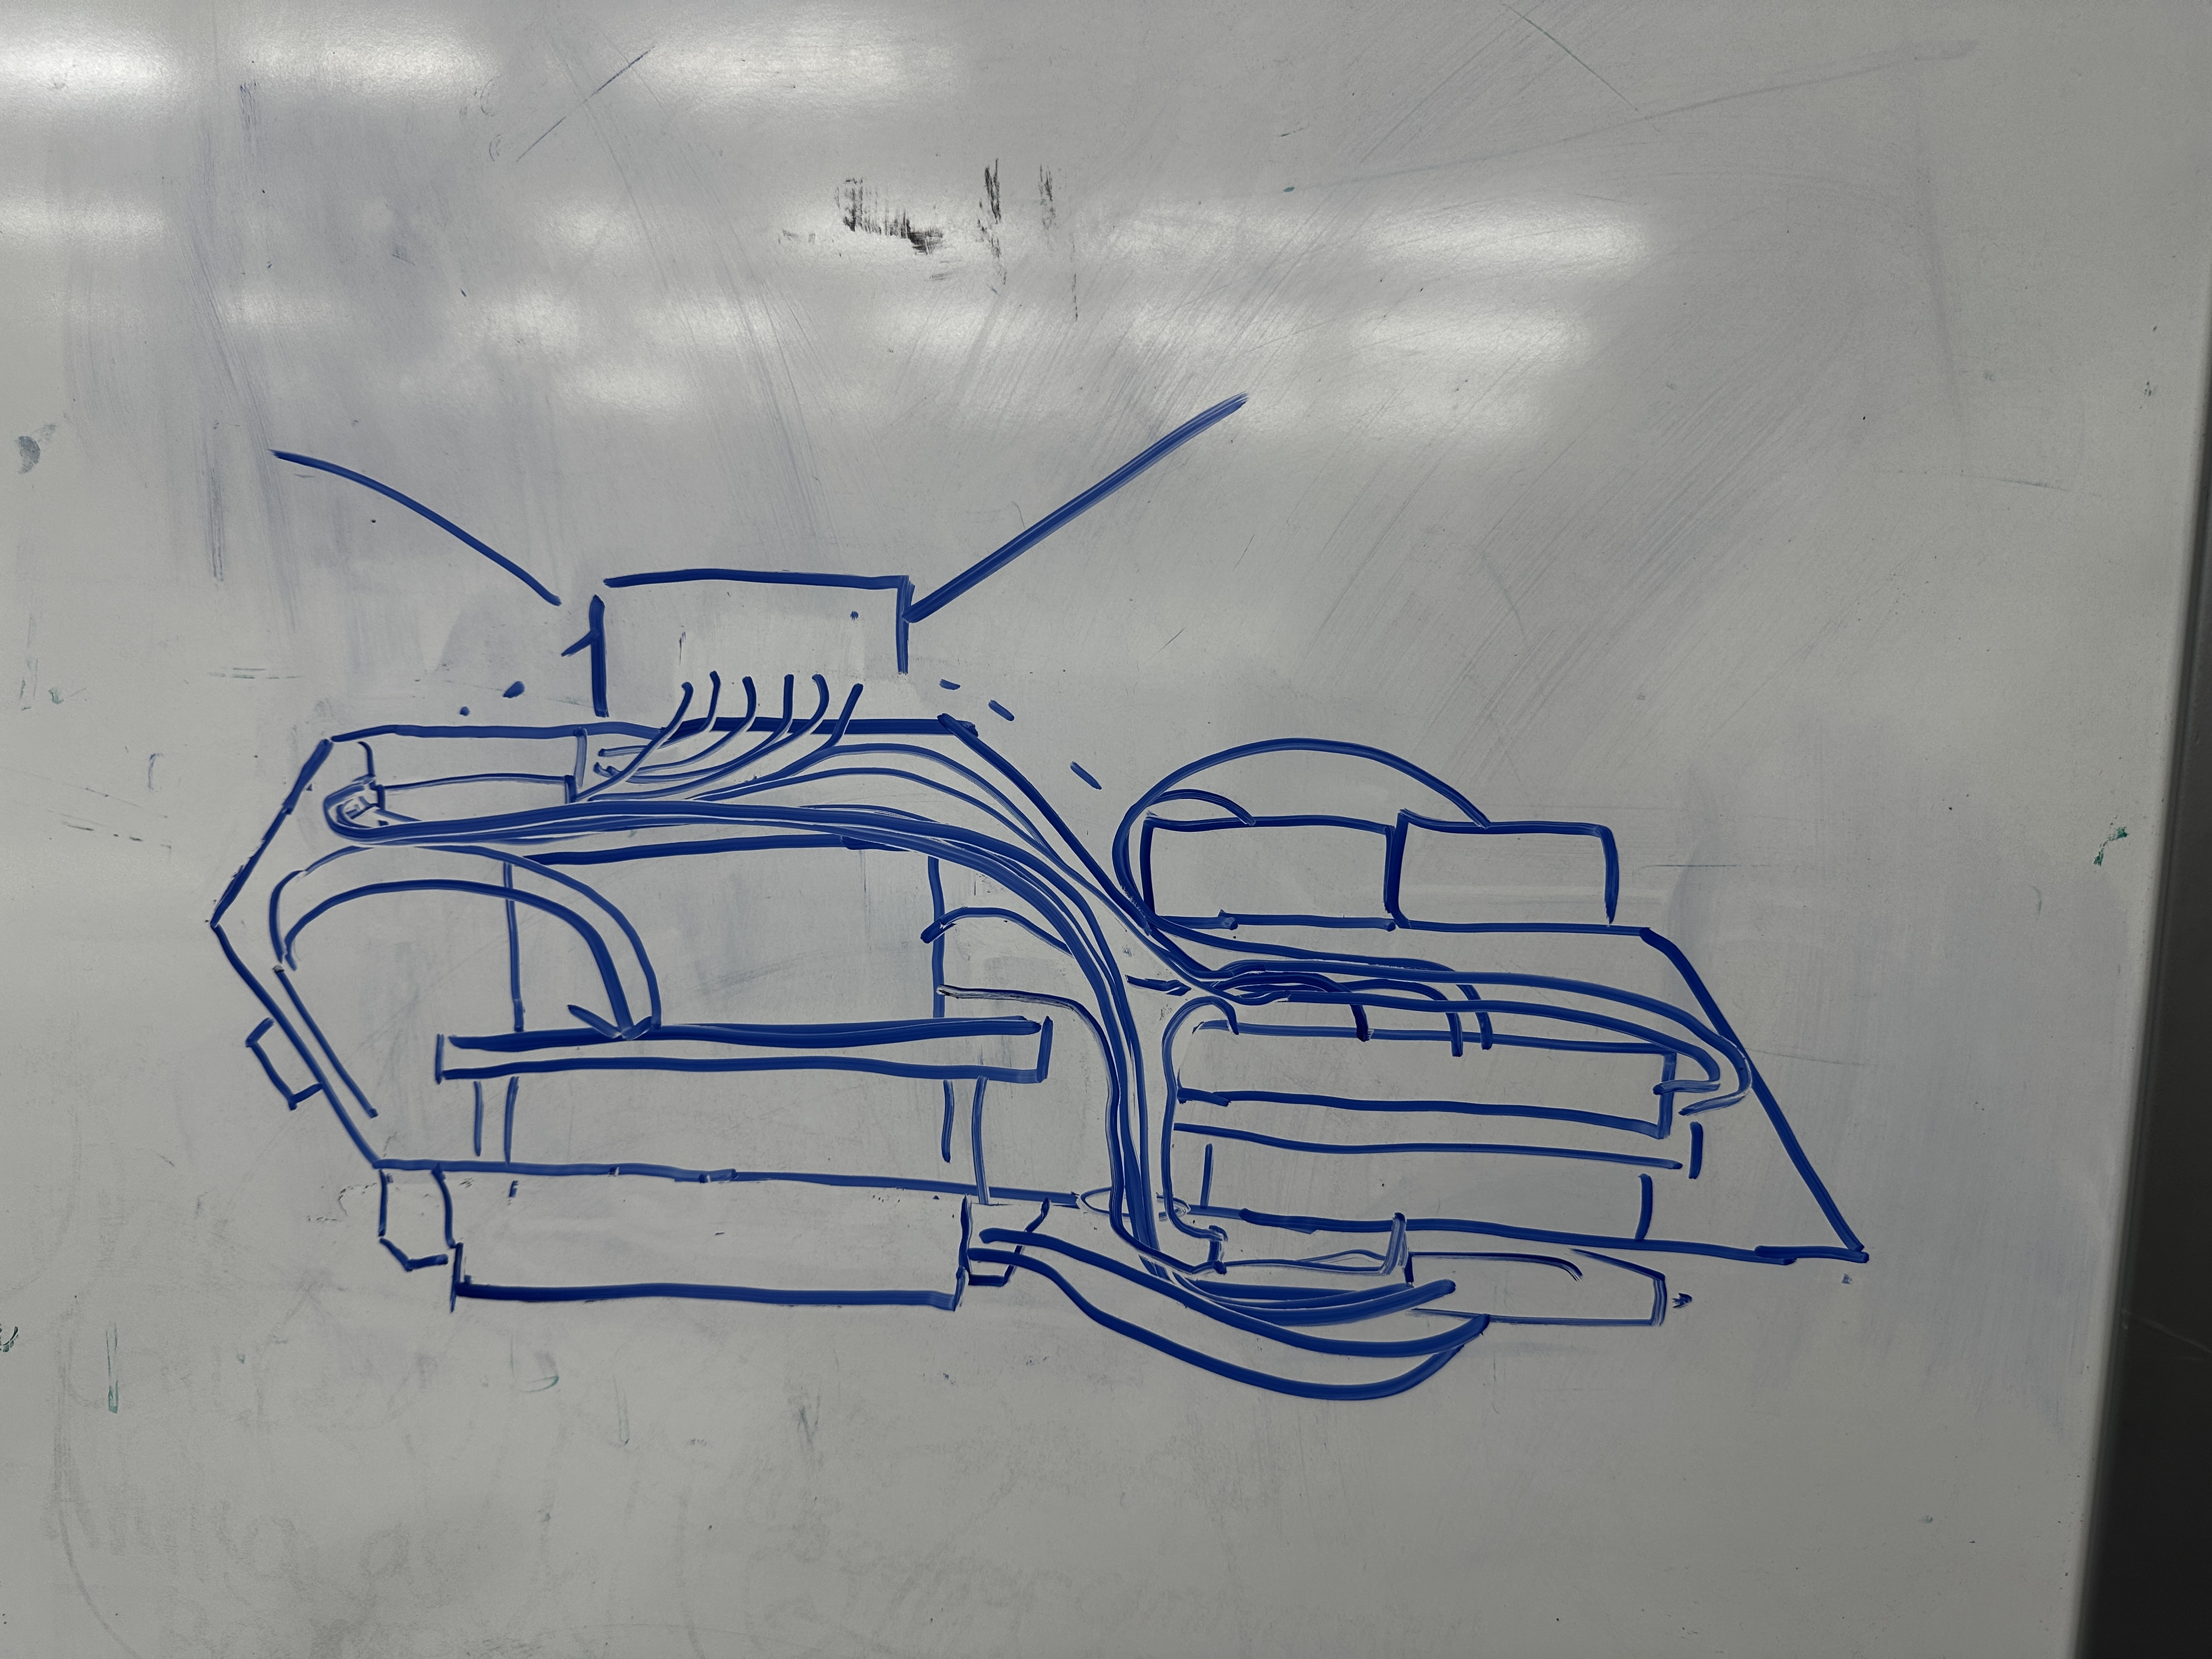
Once we had the general layout, we began making the CAD model of the drone body. While doing this, we focused on a few main things: keeping the body strong but lightweight, making sure the components fit without crowding each other, and serviceability. We designed the top plate to be removable so we could quickly access the Jetson, Pixhawk, and all the wiring when needed. We also added rubber gasketing and isolation features around sensitive electronics to reduce vibration from the motors during flight. For stability, we decided to mount the battery underneath the drone. Lowering the battery, which is 835g, more than a third of our overall weight budget, shifts the center of gravity down, which makes the drone more stable in flight.

Motor Mounts
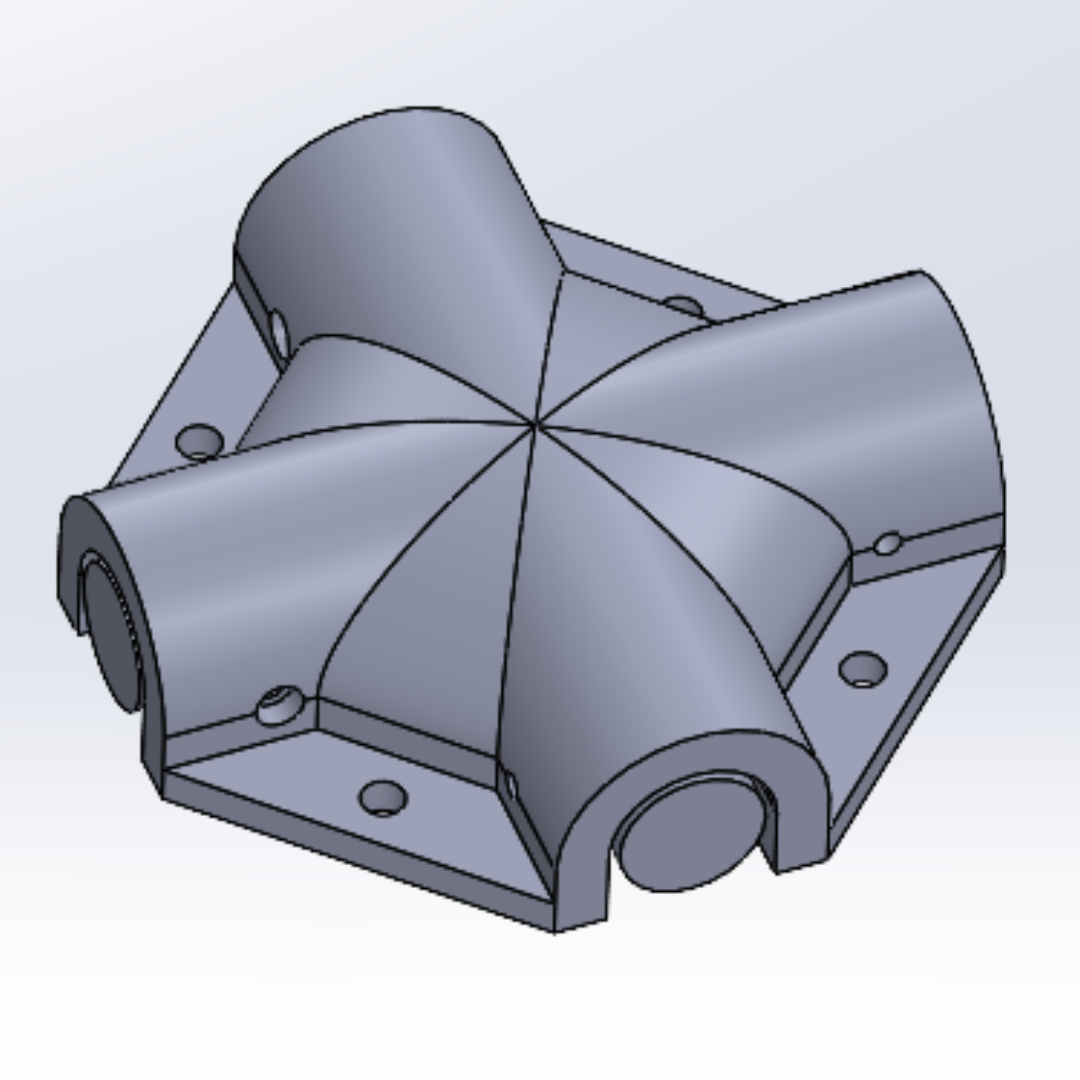
For the arms, we used carbon fiber tubes because they're light, rigid, and we already had them available. We designed a custom hub that uses friction and a retaining bolt to hold the arms tightly so they don’t wiggle or rotate during sudden maneuvers. This also helped keep the propellers aligned properly with the motors .The hub was also designed so that each arm can sit flush against a set surface, helping us position the propeller centers as close to the drone’s overall center of gravity as possible.
Assembly
To make sure the drone can handle vibration and repeated use, we used heat-set inserts in the 3D-printed parts so screws would hold better. We also used Loctite on important fasteners so they wouldn’t loosen during flight.
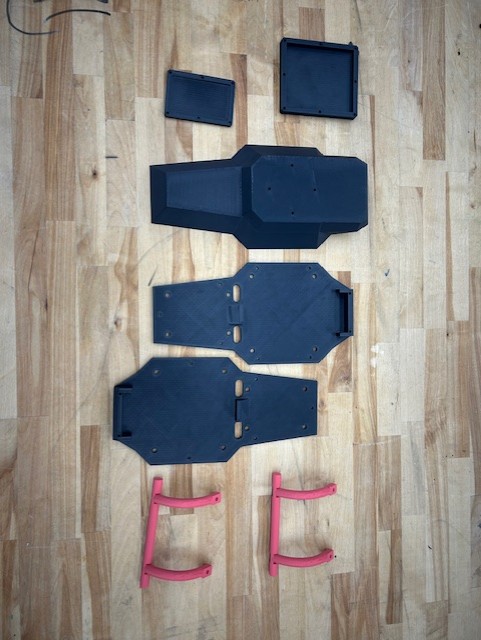
Landing Gear
We added simple landing gear to protect the bottom of the drone, especially the battery since it hangs underneath the body. The landing gear helps absorb harder landings, and we designed it to be strong enough to handle those forces without adding unnecessary height. The feet extend just slightly below the battery so the drone stays low to the ground, which reduces stress on the gear while still keeping the battery safely protected.
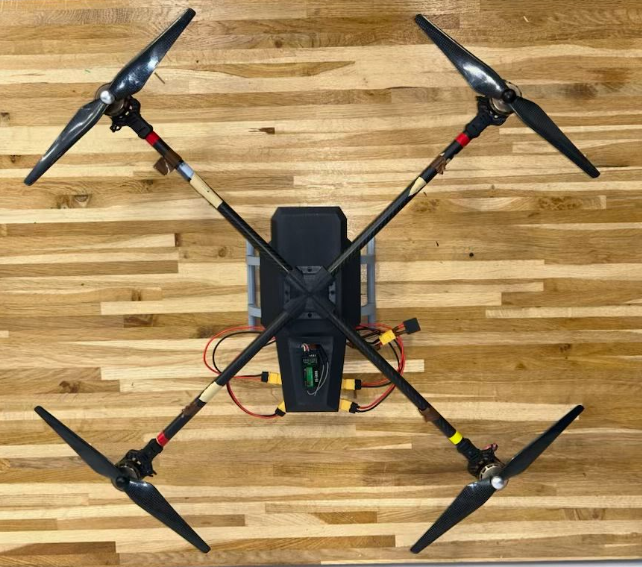
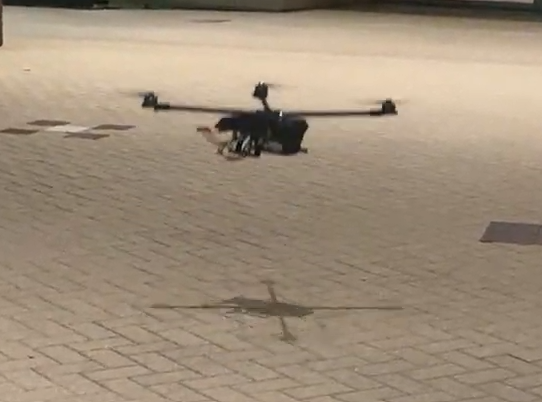
First Prototype
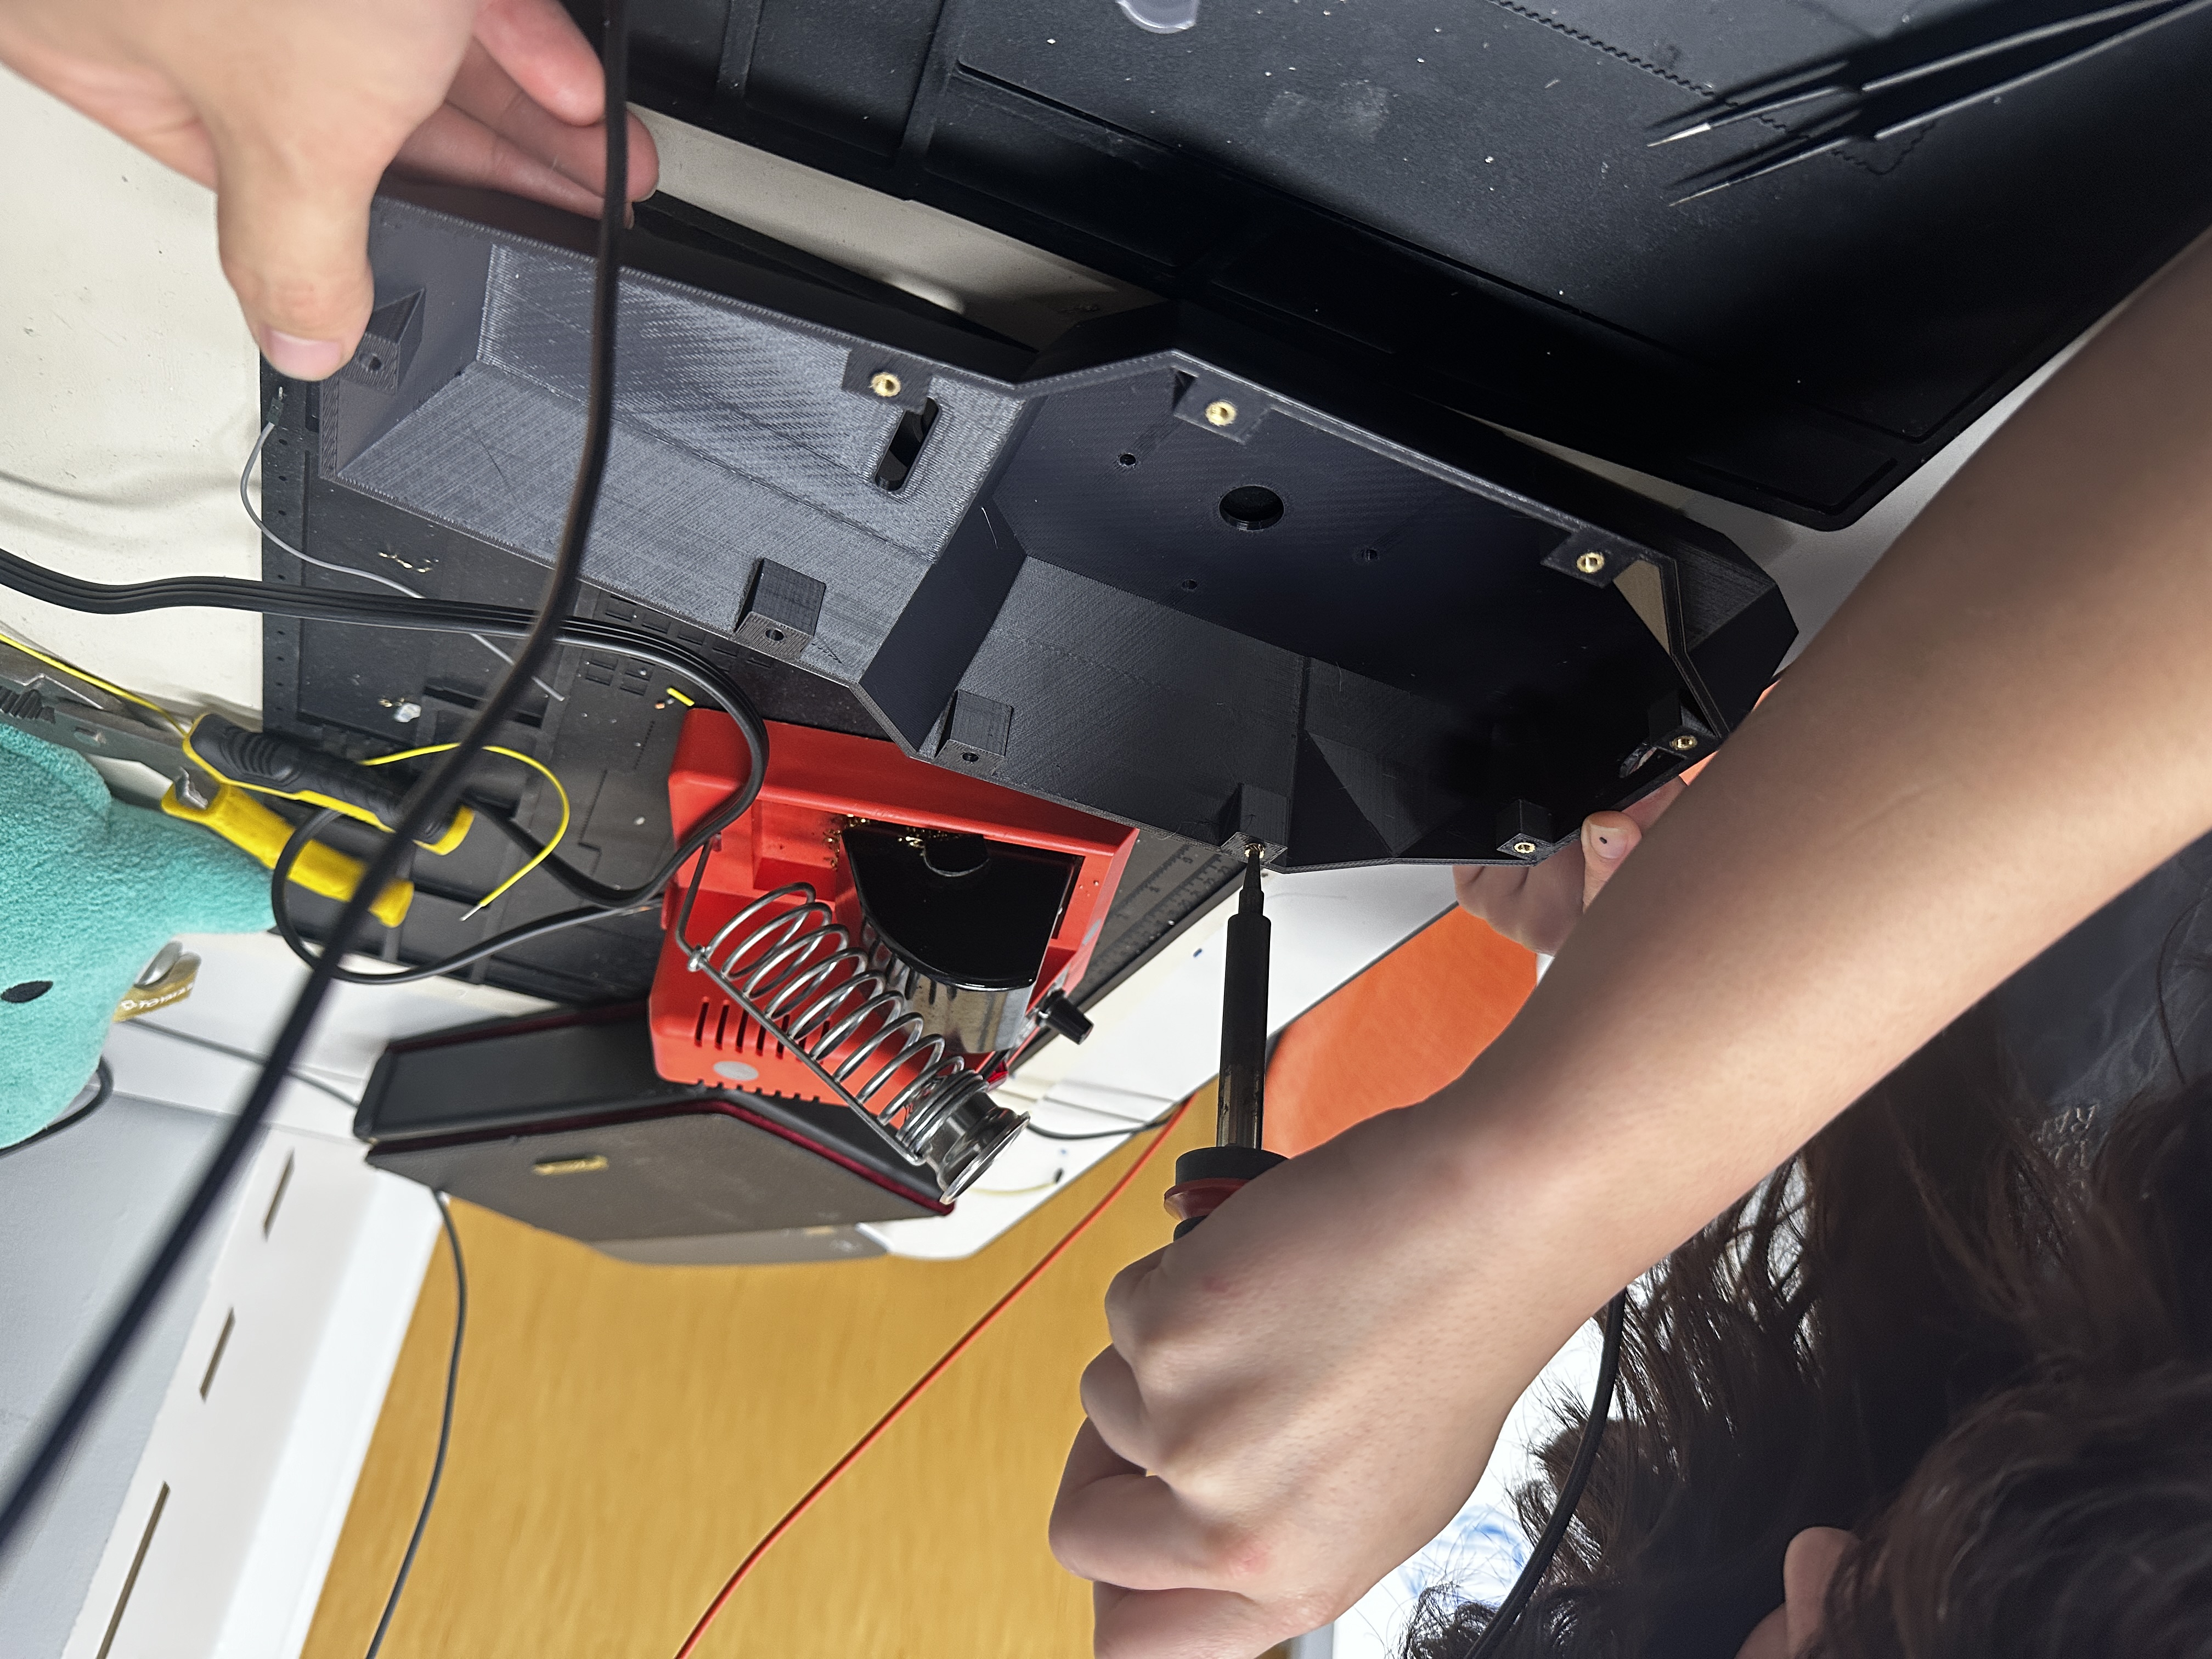
This marked the end of the first draft completed design of our drone chassis. From here we decided to gather real testing data to be able to determine any further necessary changes before our final redesign and fabrication process. To do this we printed out the drone chassis out of abs filament in the stratasys printers and wired everything to get the drone flying. Once flying we figured out that the landing gear was far too weak, the battery was not secured enough, and the drone body gets extremely hot with all of the electrical components heating up within it, especially after longer flight tests. To solve these issues we went back to the CAD designs.